In the Content section of the Customizer, you can add or remove content sections any time.
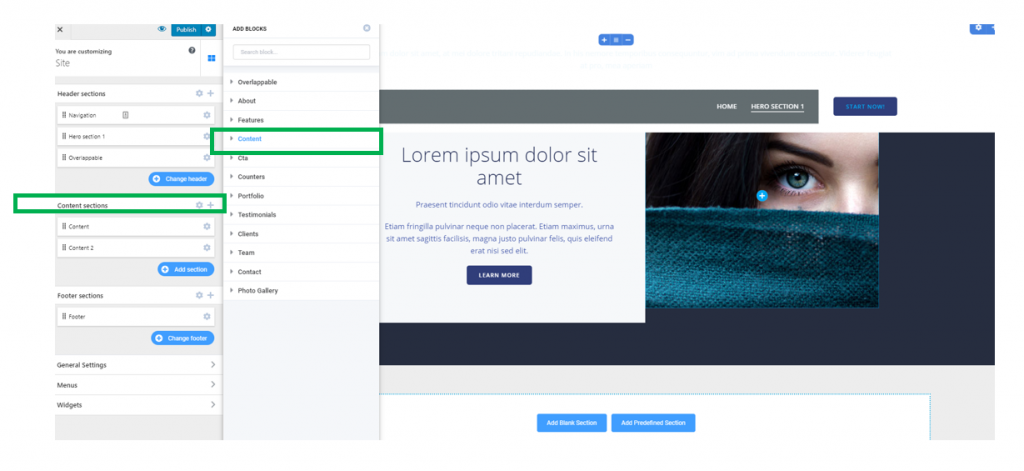
For adding new content sections, click on the + icon next to Content sections.
You will open the panel with the list of available sections you can include into the page.
Scroll down to the specific Content sections:

Add Content Sections
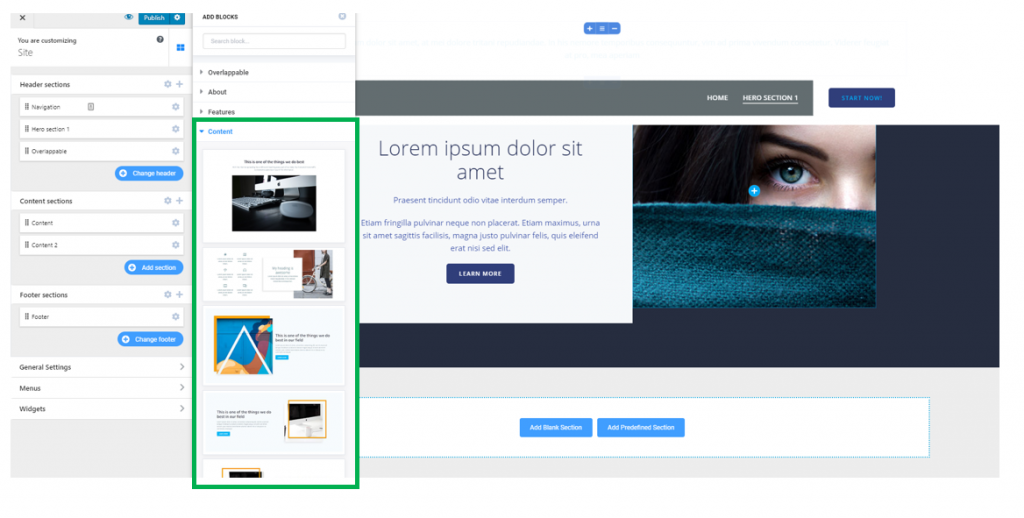
Click on Content in the list of section categories and choose the content sections you want:

Hover with your mouse over the content section you want to include in the page, and a + button will appear at the center of that content section preview. Click on the + button to add the respective content section into the page.
Alternatively, you can choose and add sections from other categories than Content: About, Features, Portfolio, Testimonials, etc.
Remove Content Sections
In the Customizer, under Content Sections, you’ll find the list of sections that have been added into the page.
To delete one section from the list, you have to hover your mouse over the respective section, and a red Remove button will appear. Click on this Remove button and delete the section from the page.
Reorder Content Sections
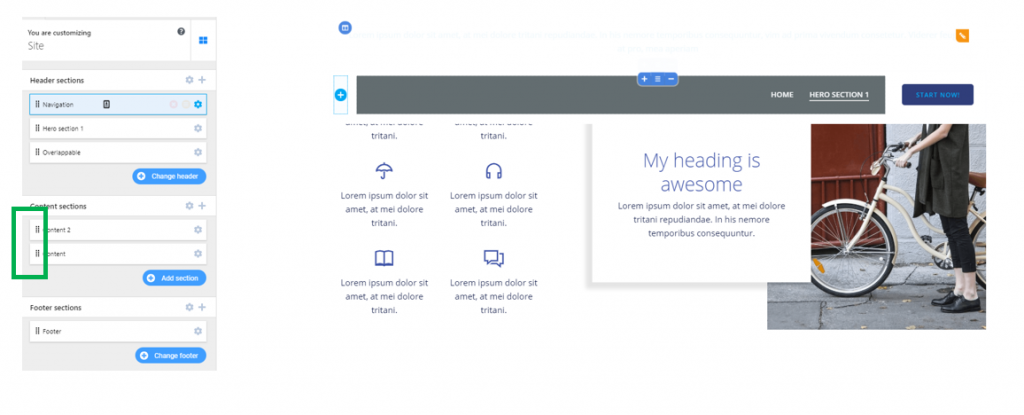
To change the order of the sections you’ve added into the body of your page, use drag-and-drop. Rearrange the content sections as you want:

Add Content Sections to Menu
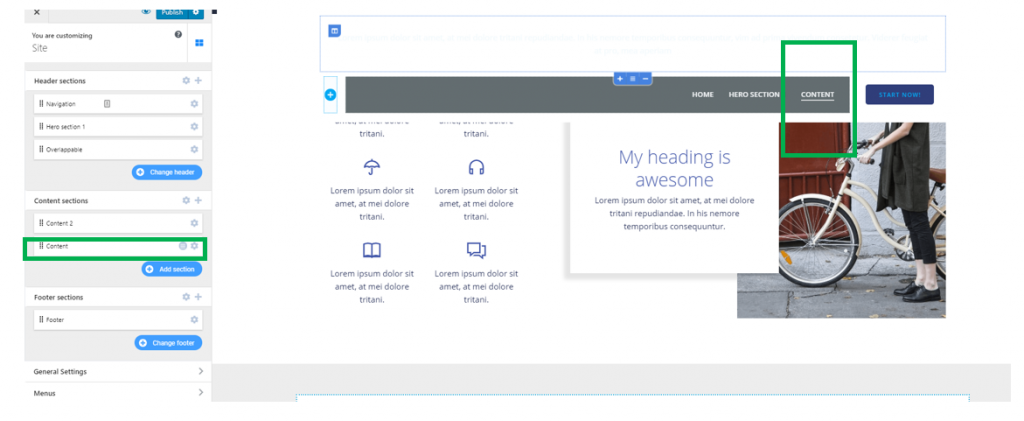
You have the possibility to add references to specific sections in the page, in the menu.
For this doing, hover your mouse over the section you want to add a reference in the menu from, and click on the orange button named “Add to menu”.
