For editing options, go to the Customizer -> menus -> select the menu you want to modify.
Rearrange the order of the items in the menu
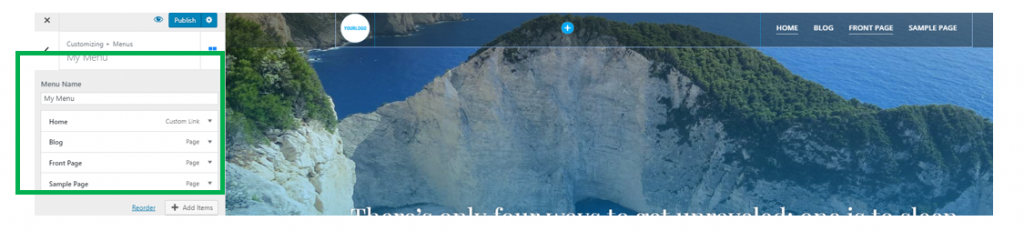
When you click on the menu you want to change, the list of items included in that menu will expand.
Use drag-and-drop to rearrange the items in the order you deem as most appropriate:
Alternatively, you can use the Reorder button, that helps you rearrange the items in a different order, by using arrows.
Change the text of the items in the menu
If you want to change the text of the elements included in the menu, you need to click on those items and expand the list of options corresponding to those items:
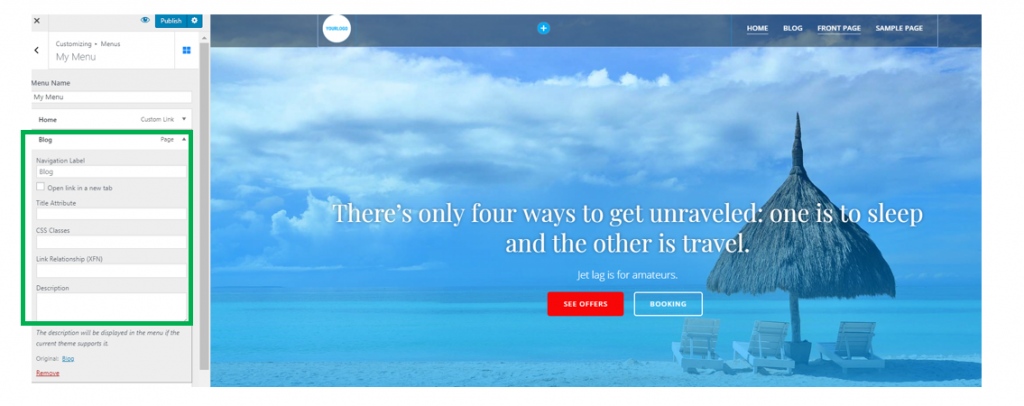
The option that interests you here is the first one in the list: Navigation Label.
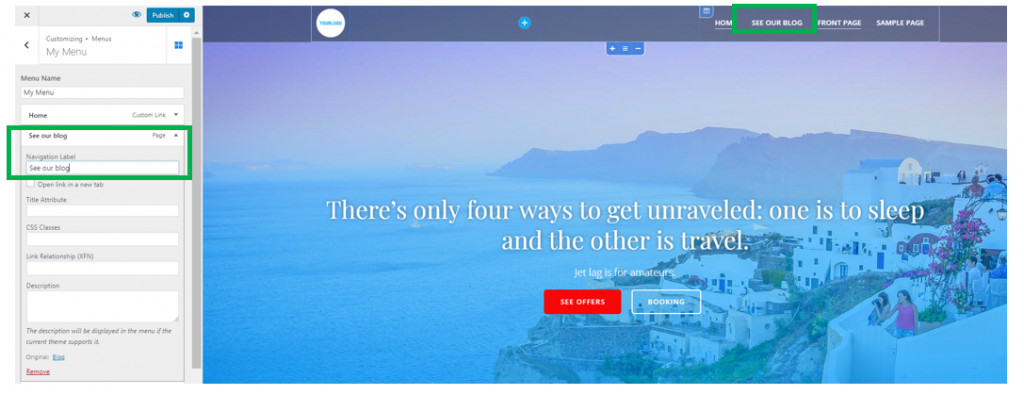
Navigation Label refers to the name you give to an item in the menu. Fill in the blank space with the name you want to attach to the respective item in the menu.
In the example below, we change “Blog” with “See our blog”:
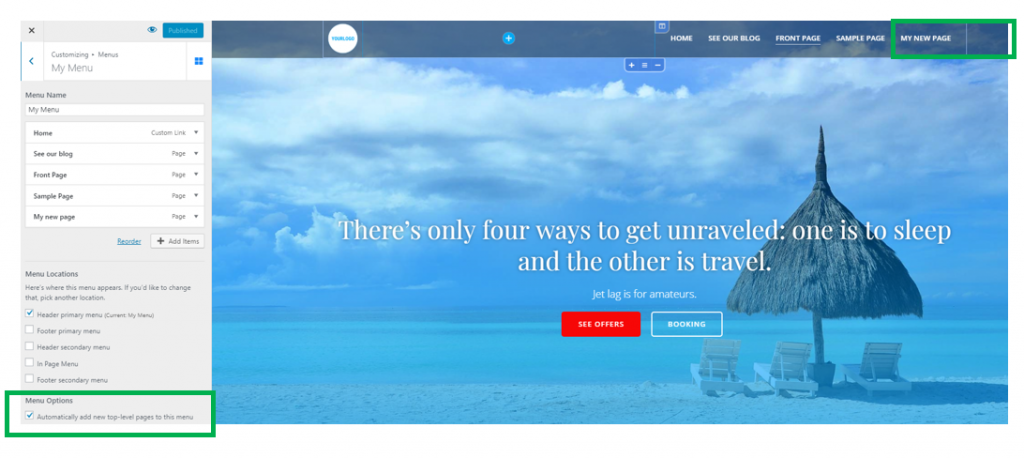
Automatically add new items to the menu
In the Customizer -> Menus -> select the menu you want to make changes to.
At the bottom of the section with Menu settings (under the list of menu items and the list of menu locations), you will find an additional option. This refers to activating the feature according to which new top-level pages are automatically added to the menu. That means, if you have enabled this option, and you create a new page in the site, that page will be automatically referenced from the menu (a link to the new page will automatically be added to the menu):