To add custom HTML to your web page, you need to follow a few easy steps.
In the WordPress Admin dashboard, go to the left-hand menu and select Plugins. Then select Add New plugin.
Search for the Shortcoder plugin in the plugin directory, and add it to your active plugins:
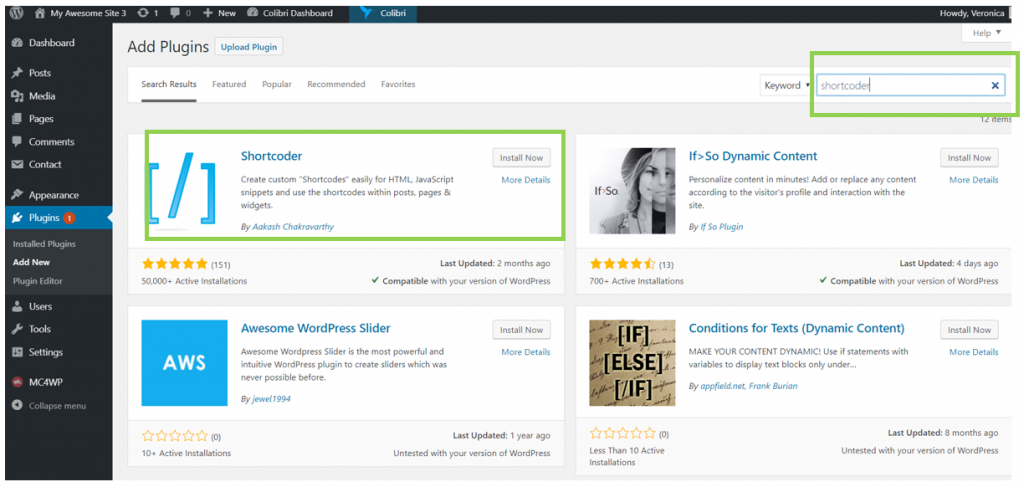
Press Install Now, then press Activate.
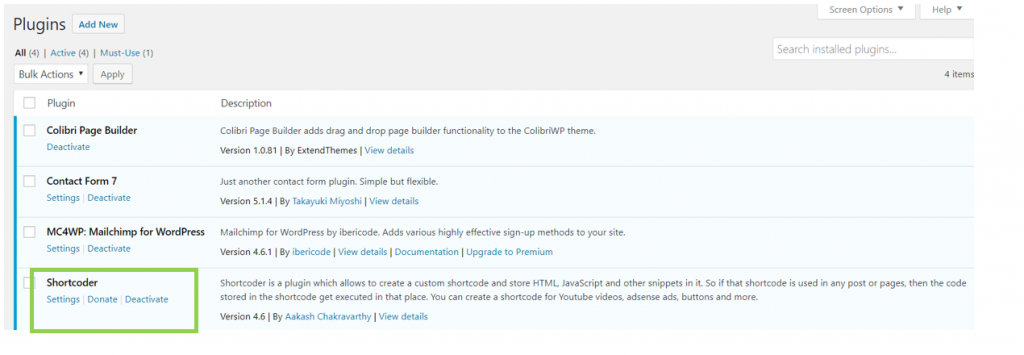
Then, you’ll have the Shortcoder plugin in the list of active plugins.
Go back to the left-hand menu in the WordPress Admin dashboard, and select Settings -> Shortcoder.
You’ll be taken to this section:
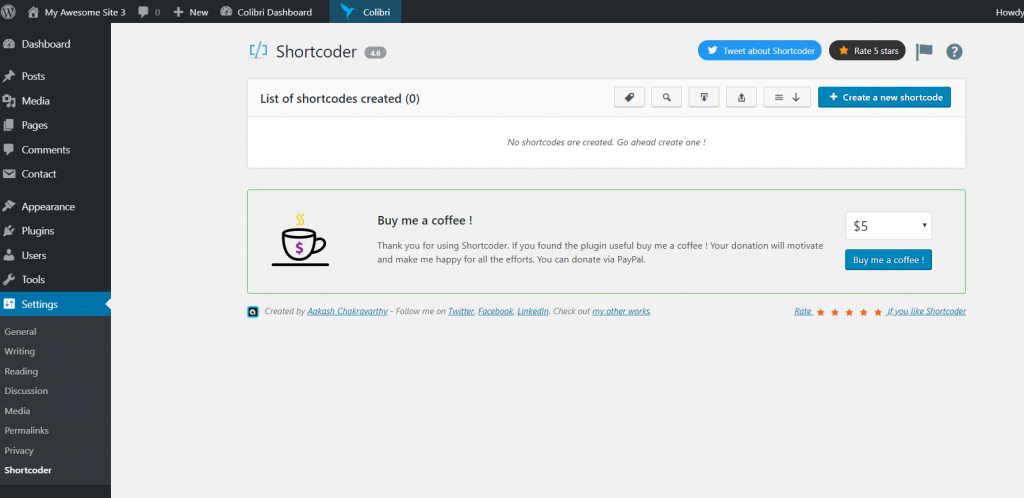
Click on Create new shortcode.
Give the new shortcode a name, and start typing your HTML code in the blank space under Shortcode Content:

Scroll down the page and press Create Shortcode, for the shortcode to be saved.
You’ll get a message saying “Shortcode created successfully”.
Go back to Settings -> Shortcode, to copy the shortcode representative of the custom HTML you included for that shortcode:
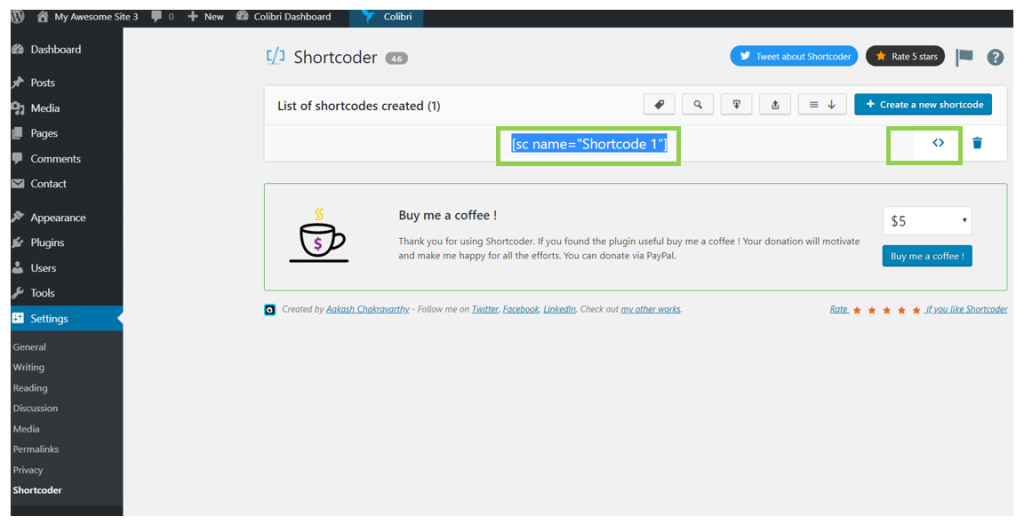
Press the brackets icon to display the shortcode. Then, copy the shortcode, as you’ll need it later.
Go to Appearance -> Customize, to go to the Customizer and insert the custom HTML in the page you want.

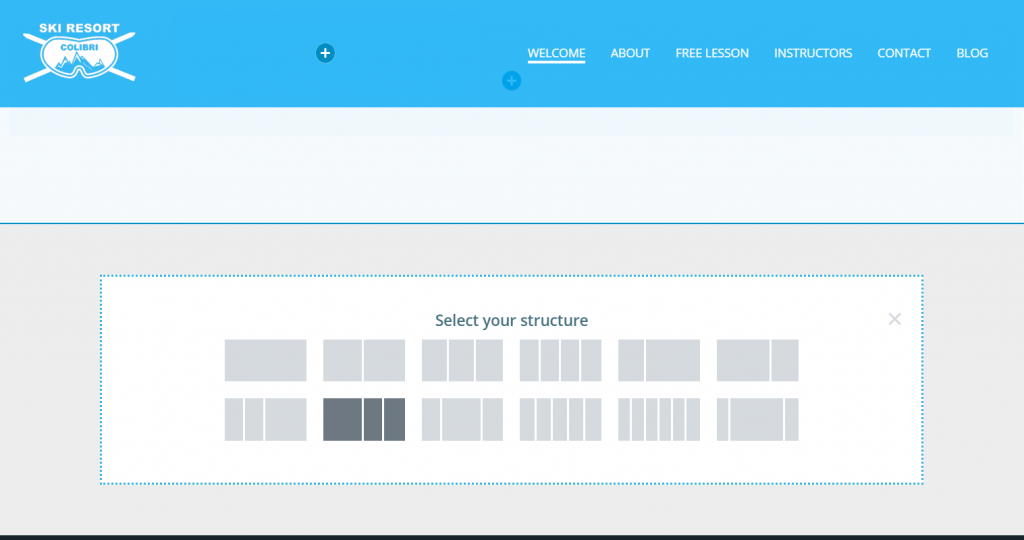
Create a new section that will be dedicated to the custom HTML you want to insert in the page.
In the new, blank section, drag-and-drop the Shortcode component, from the list of components:
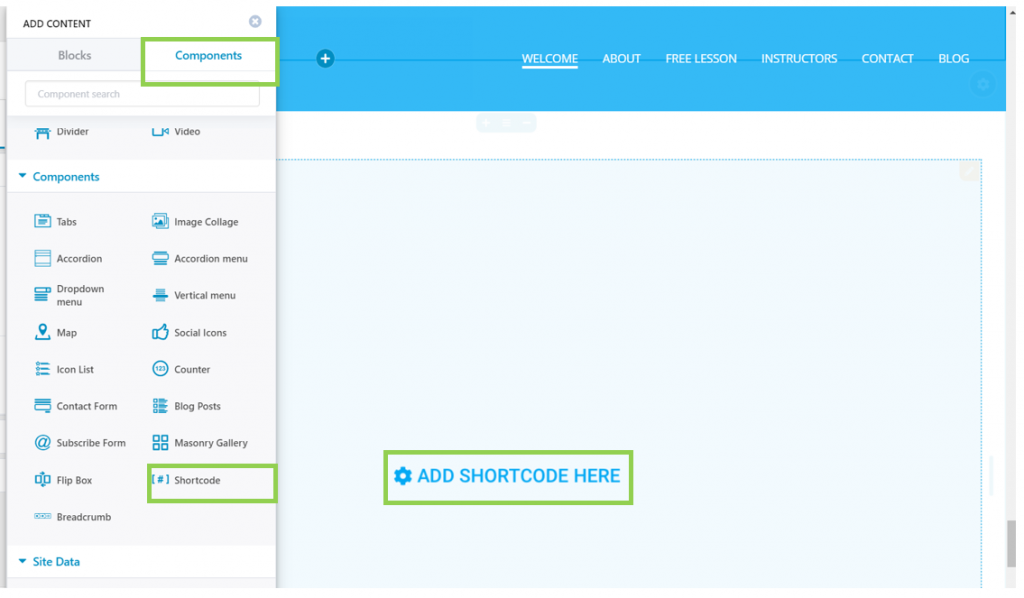
In the Customizer, press on ADD SHORTCODE HERE and open the panel with corresponding settings for the shortcode component.
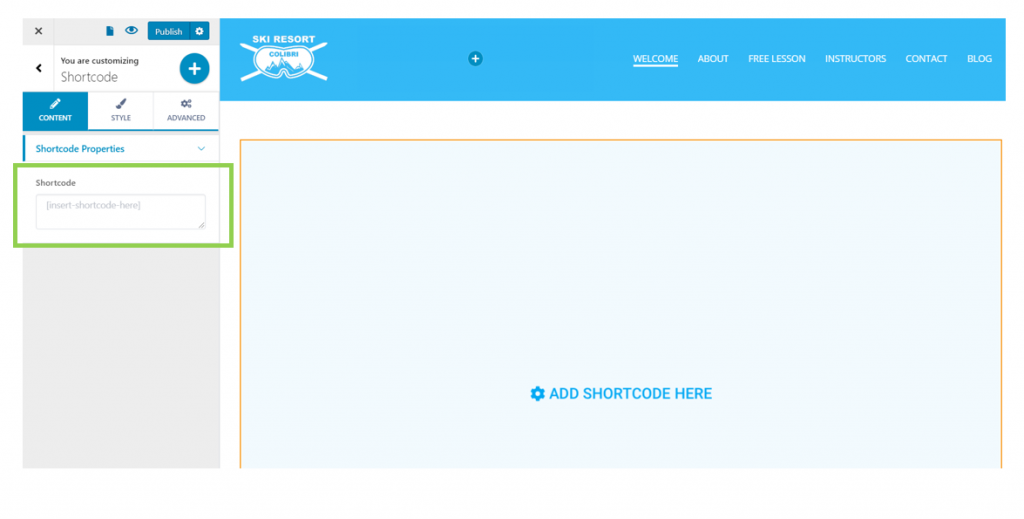
Fill in the blank space under Shortcode, with the code you’ve copied earlier:
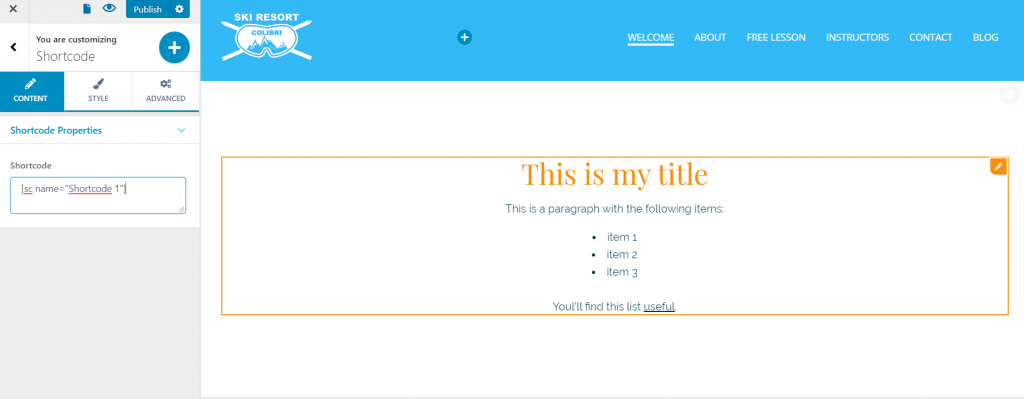
Publish the changes you’ve made to the page.