Login to app.colibriwp.com and select the website you want to customize. Click on edit and go to the Customizer.
In the upper part of the menu, you’ll see a page symbol next to the Preview Changes button:
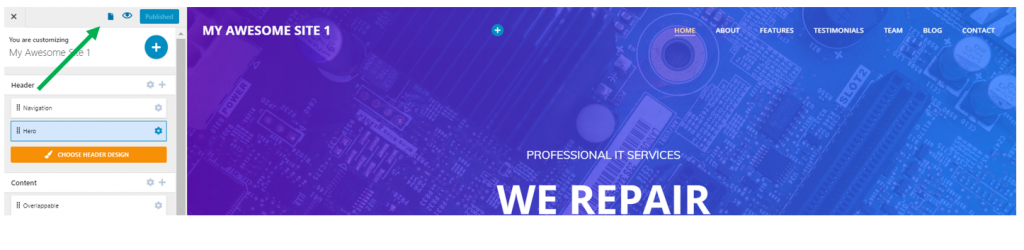
Switch to a different page to edit it
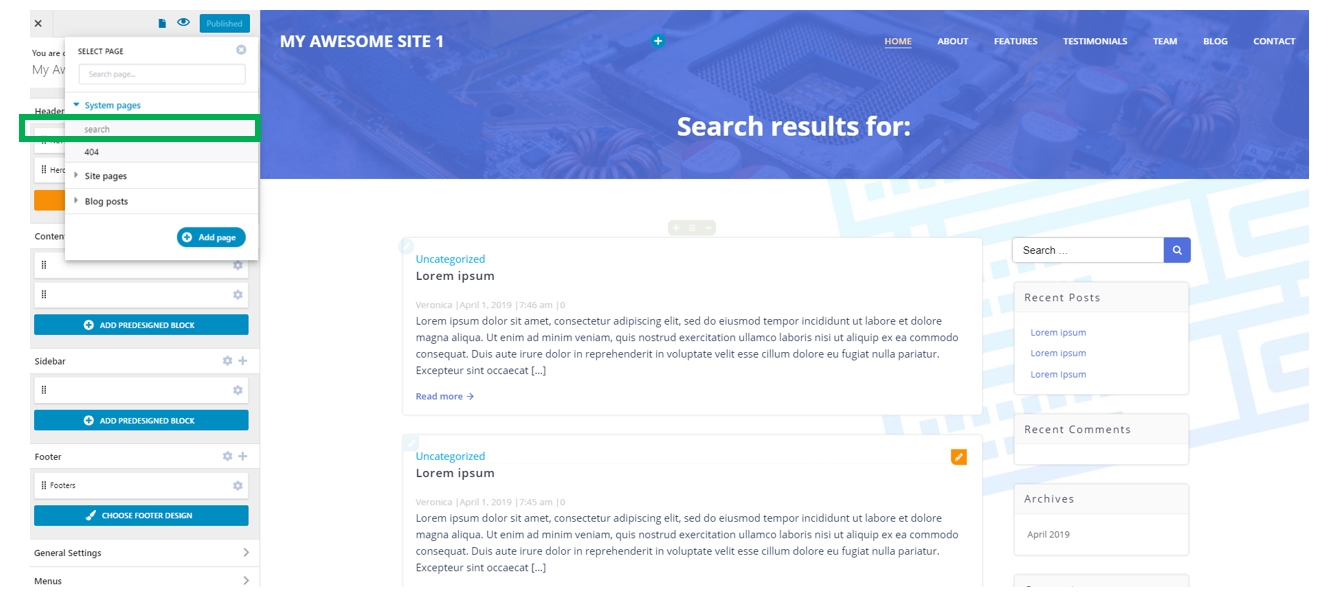
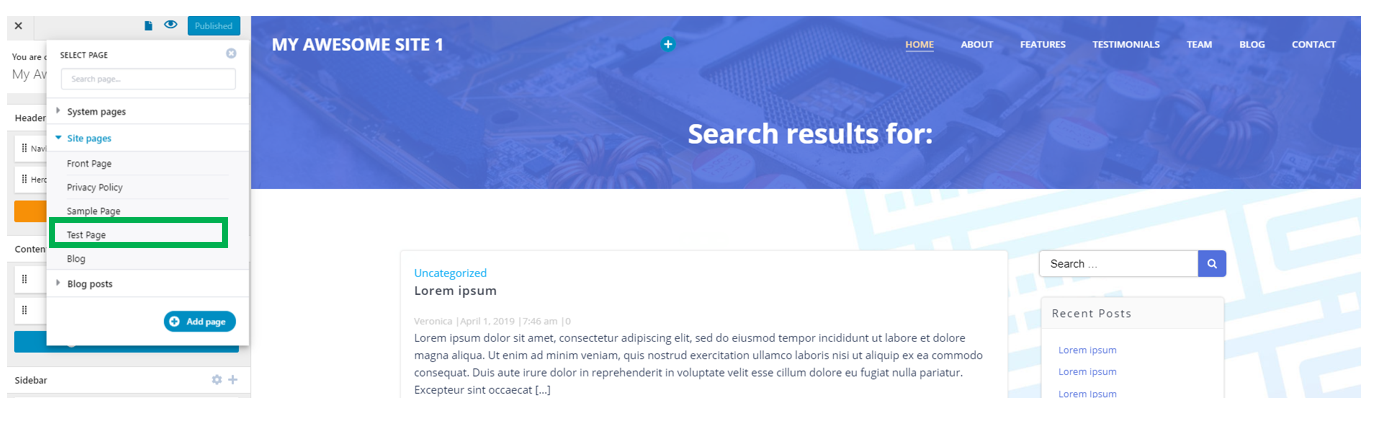
Click on it and a list of all your website pages will expand:
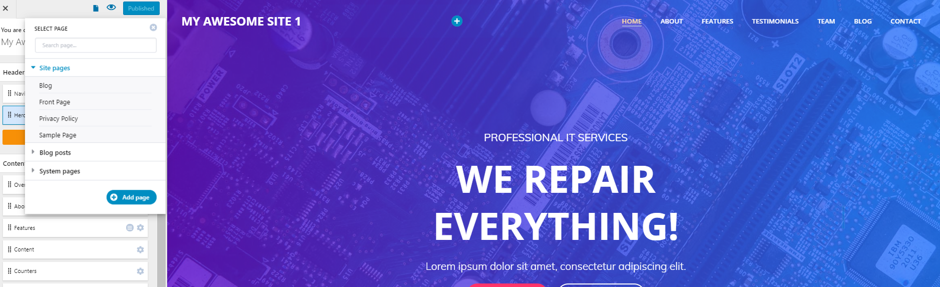
The pages are organized as follows:
- Site pages (e.g. Front Page, Sample Page, Main Blog page, Privacy Policy)
- Blog posts (if you click on this subsection, the list of individual blog posts will expand)
- System pages (e.g. 404 error page, search page).
Note that when you click on the “Add or edit other pages” button, the page you’re currently editing is distinctively marked in grey, to notify you of the website section you’re working on.
Example:
Add a new page
When you click on the “Add or edit other pages” button, you’ll see an “Add page” button, at the bottom right part of the list of pages:
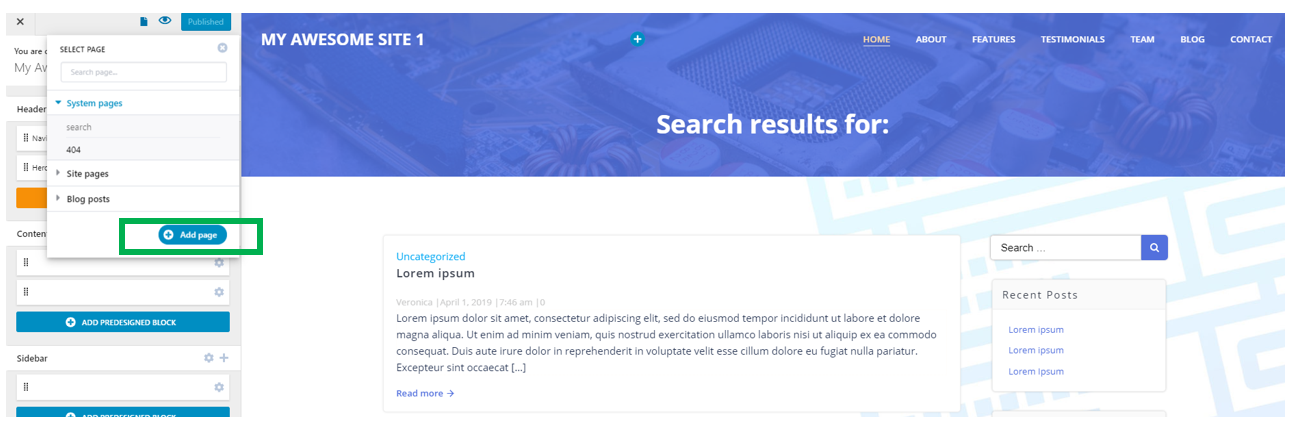
Click on the blue button to create a new page.
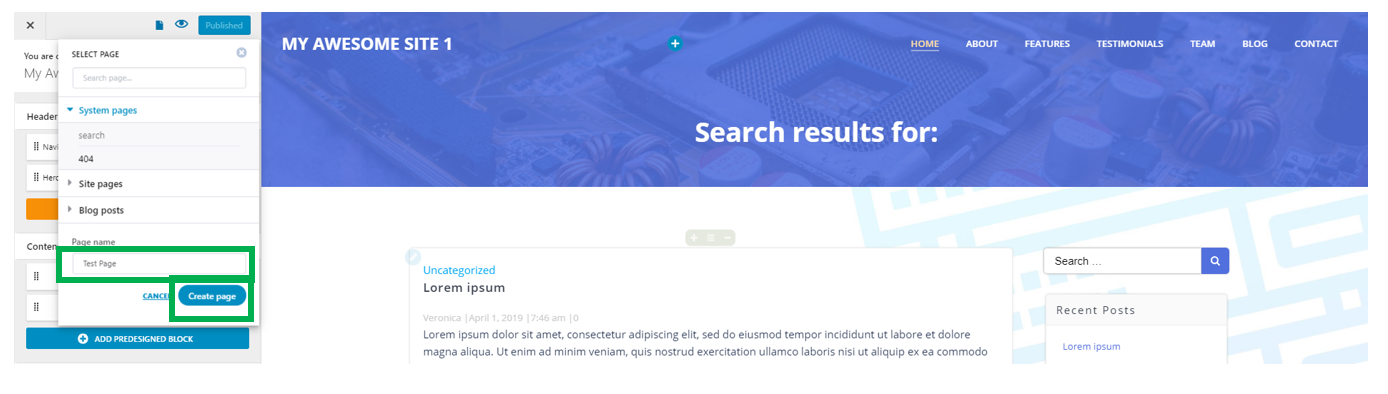
Give the page a name and click on “Create Page”:
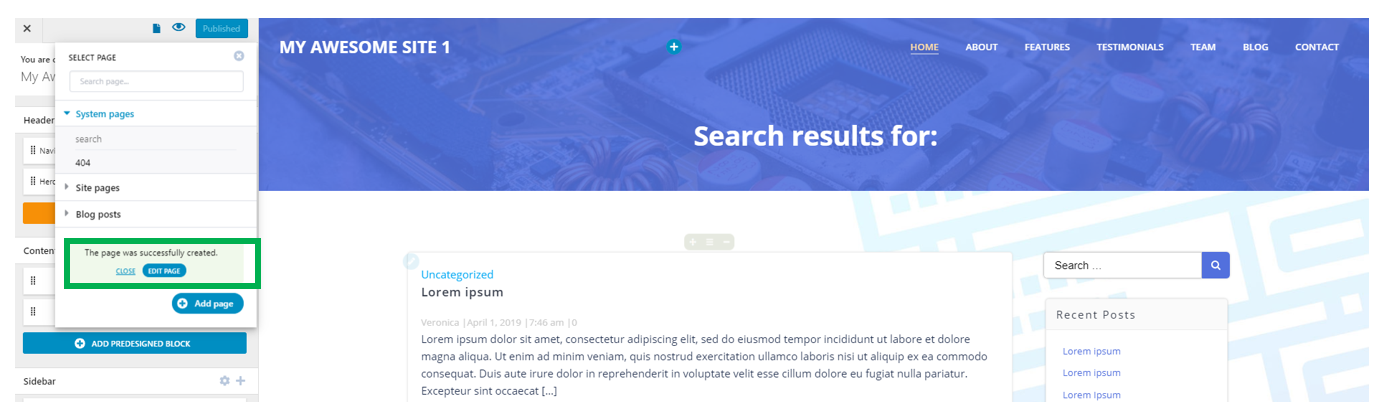
After you have created the page, a message will appear: “The page was successfully created”. You can start editing it, if you click the “Edit page” button:
Also, you’ll find your new page in the list of pages that unfolds once you press the “Add or edit other pages” button again:
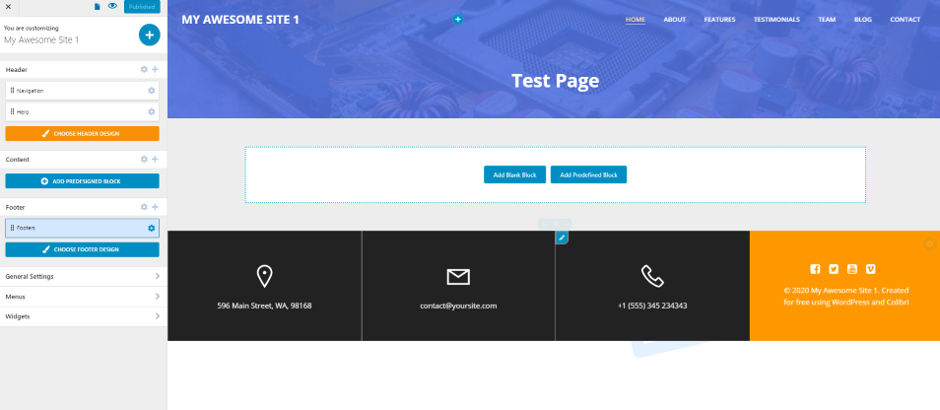
Note that the new page comes with basic default elements, such as Navigation, Hero and Footer. You’ll have to customize them and add Predefined/Blank Blocks for the page content: