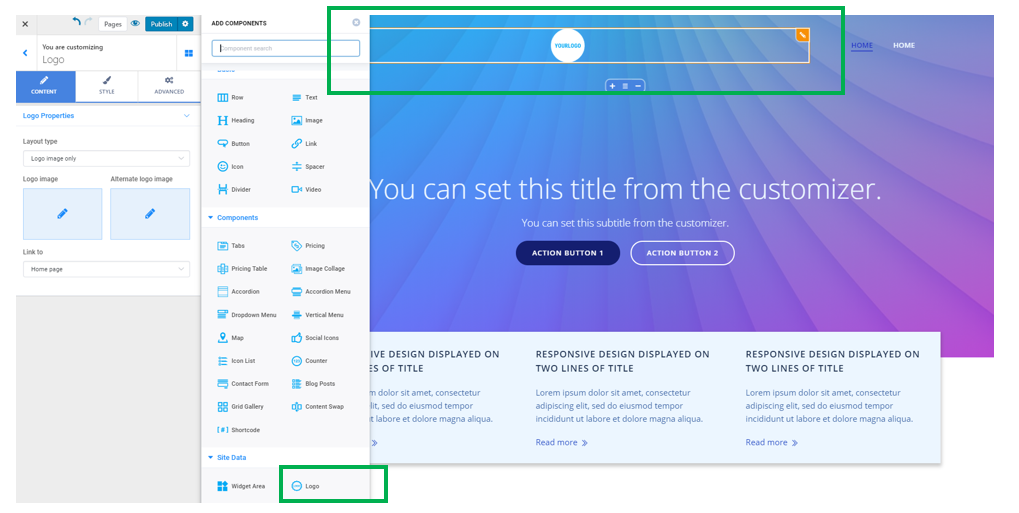
Open the list of Components and go to Site Data Components.
Find the Logo Component and use drag-and-drop to place the component into the pages of your website.

To customize the logo of your website, click inside the component and make sure you have the corresponding settings category open in Customizer.
Content
From the Content tab, you can set the logo properties:
Layout type
This option defines the type of logo you want to insert into your website pages:
- Display only a logo image
- Display only a site title text
- Display an image with text below
- Display an image with text above
- Display an image with text on the right
- Display an image with text on the left
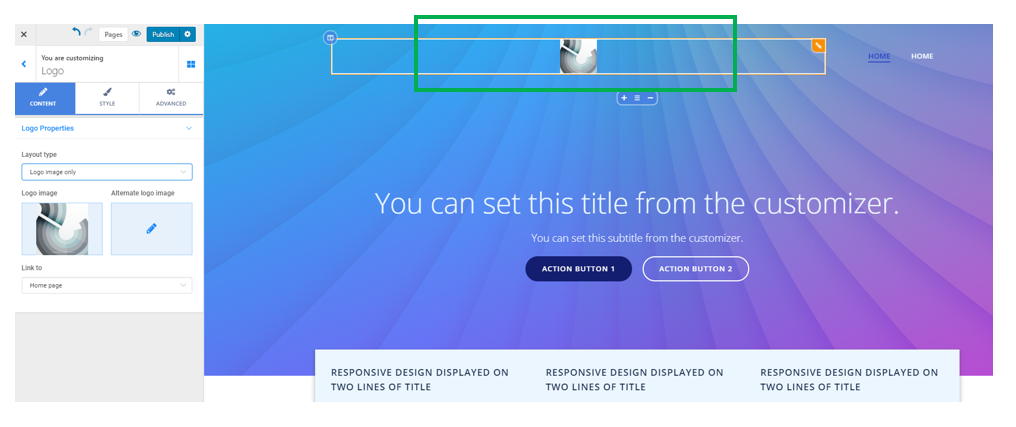
Logo image
Here you will upload the image for your website logo.

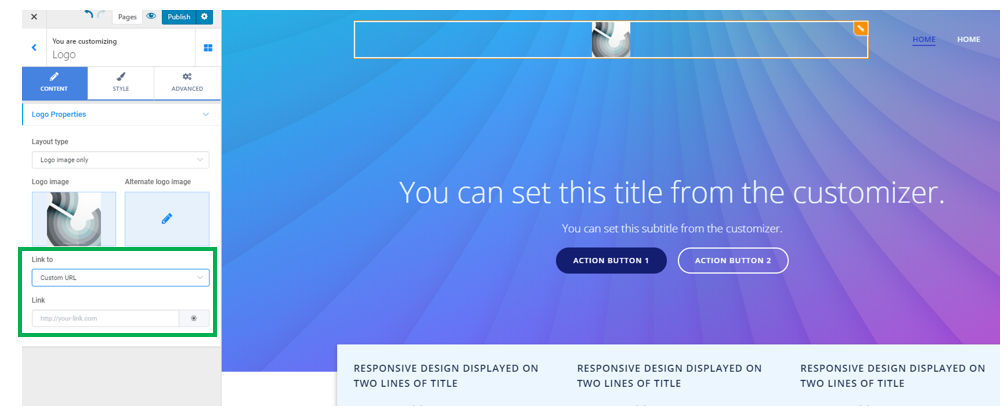
Link to
Set the destination page where users land after clicking on the logo, in a page of your website.
The link on the logo can lead to:
- The homepage of your website
- A custom URL (you need to provide the URL of the destination page)

Usually, visitors are accustomed to go back to the homepage of a website they’re visiting, when they click on the website logo. It’s recommended that you use the first option, for the logo to link to the homepage.
Style
Maximum image height
Select a value on the slider, for the maximum height of the image representing the logo of your website.
Padding
From here, you can set the padding, that is the surface the logo content occupies in the section where it is included. Set specific values for each side of the logo.
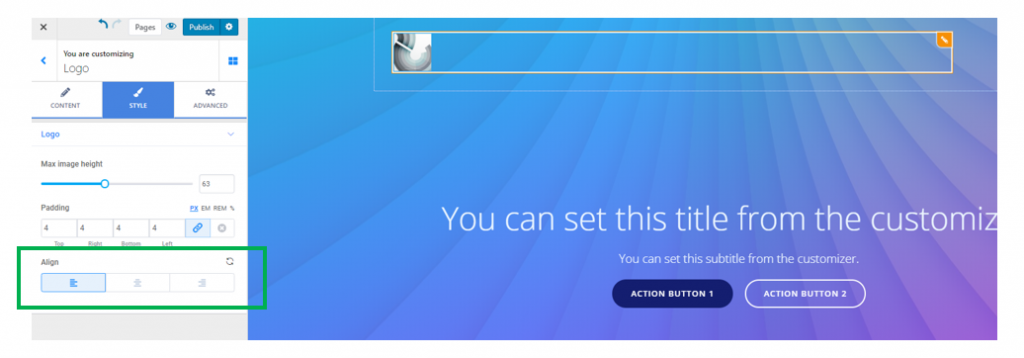
Alignment of the logo
Choose the logo to be placed as follows, in its section:
- Aligned to the left
- Placed at the center
- Aligned to the right.
Example of logo aligned to the left:
