You can set distinct featured images for every page and post in your website.
Here’s how:
Set distinct featured images for individual posts
You need to go to the WordPress Admin dashboard, and choose the Posts category.
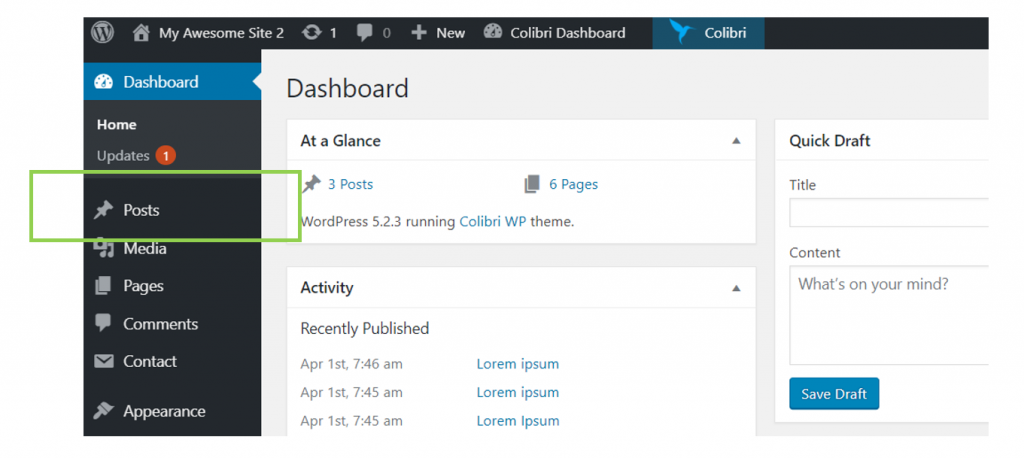
Click on Posts and go to the full list of your blog posts.
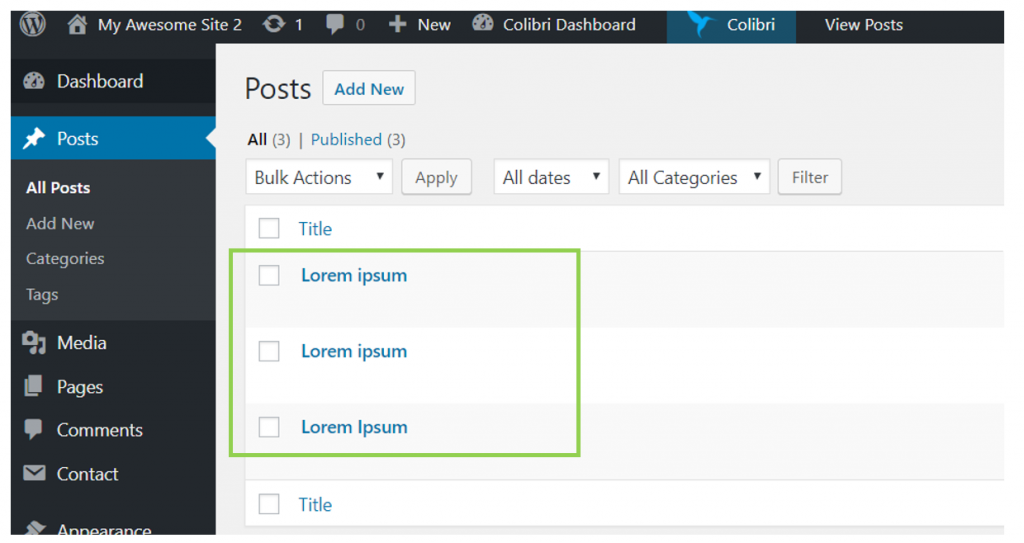
Hover with your mouse over the item where you want to add a featured image, and click on Edit.
You’ll be taken to the editing interface for that post. In the right-hand menu, you need to find the “Featured Image” option.
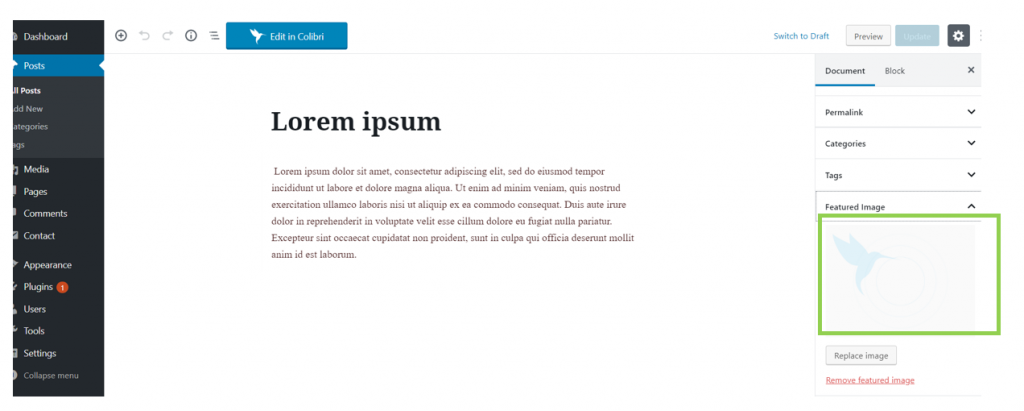
Click to upload an image of your choice, as featured image for that post.
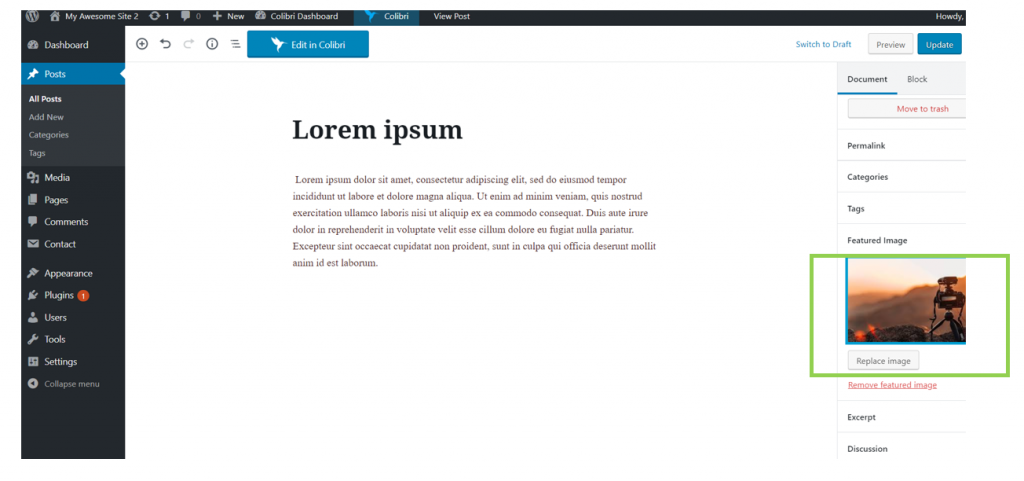
Then, press Update to save the changes for this post.
The same goes for all the other posts in your blog.
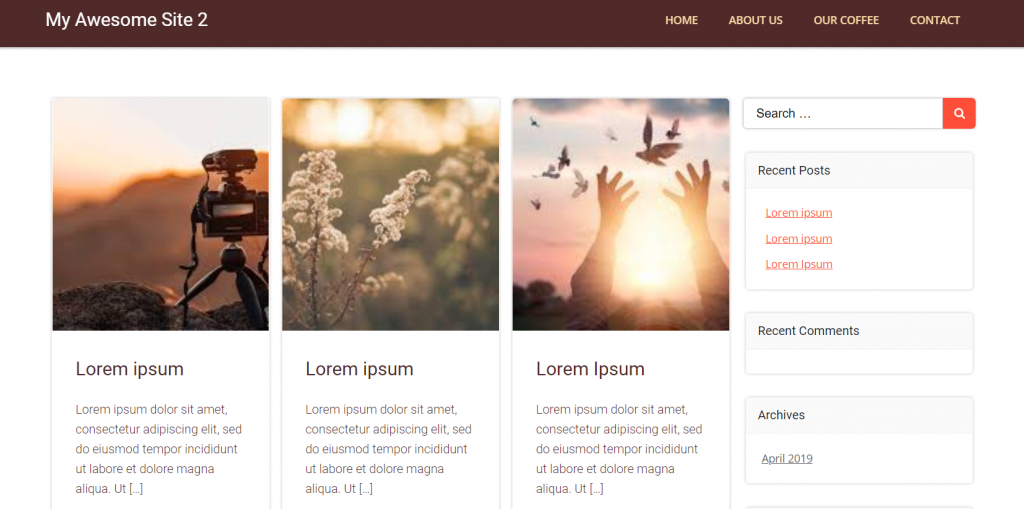
Therefore, each blog post will have its own featured image:
Set distinct featured images for individual pages
Similarly to posts, pages can have their own distinct featured images.
Let’s see how you add them to your website pages:
First, you need to go to your WordPress Admin dashboard. In the left-hand menu, select the Pages category.
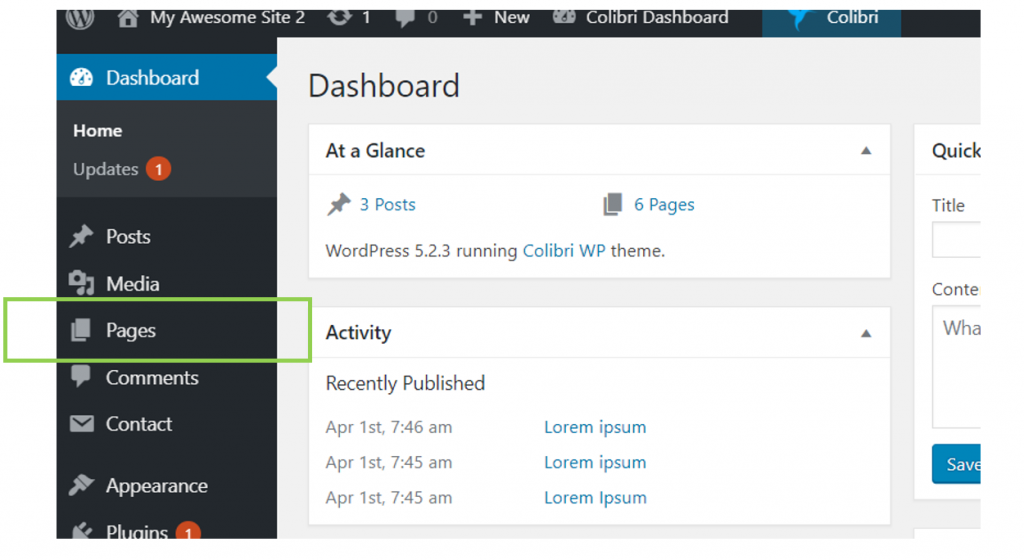
Press on Pages and you’ll be taken to the full list of pages you created for the website.
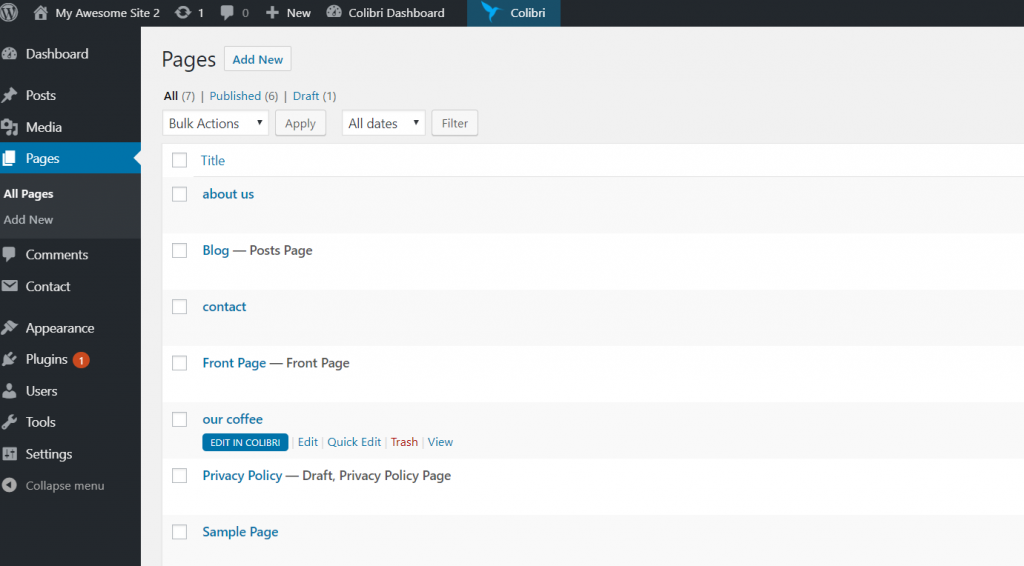
Hover with your mouse over the page you want to add a featured image to, and click on Edit.
Go to the editing interface for that page, and in the right-hand menu, scroll down until you find the “Featured Image” option.
Click on Set featured image and upload an image of your choice.
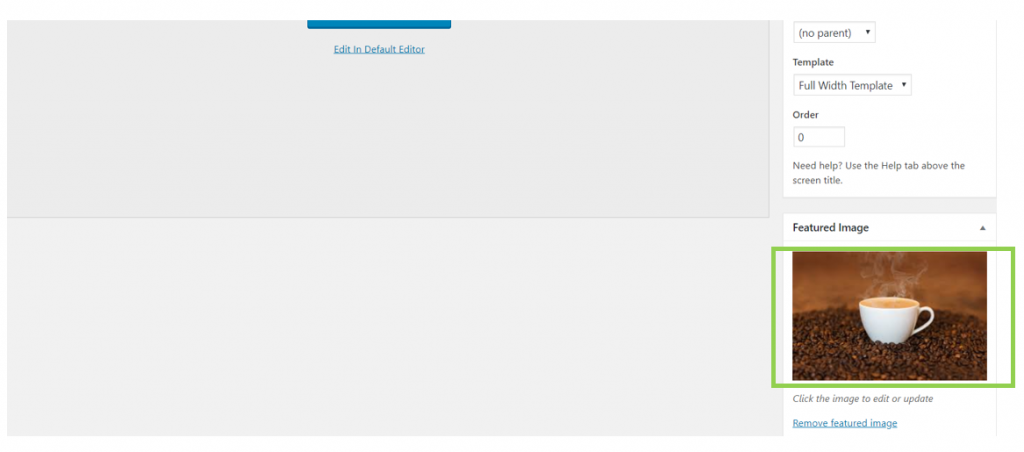
Then, click Update to save the changes you made to the web page.
The same goes for all pages where you want to add a featured image to.
Then, you need to go to the Customizer and make some changes to the default options.
From the blue sheet icon, select the pages you’ve added featured images to.

Then, to replace the default Hero of that page with the featured image you’ve set earlier, go to Hero -> Settings (in the left-hand menu of the Customizer):
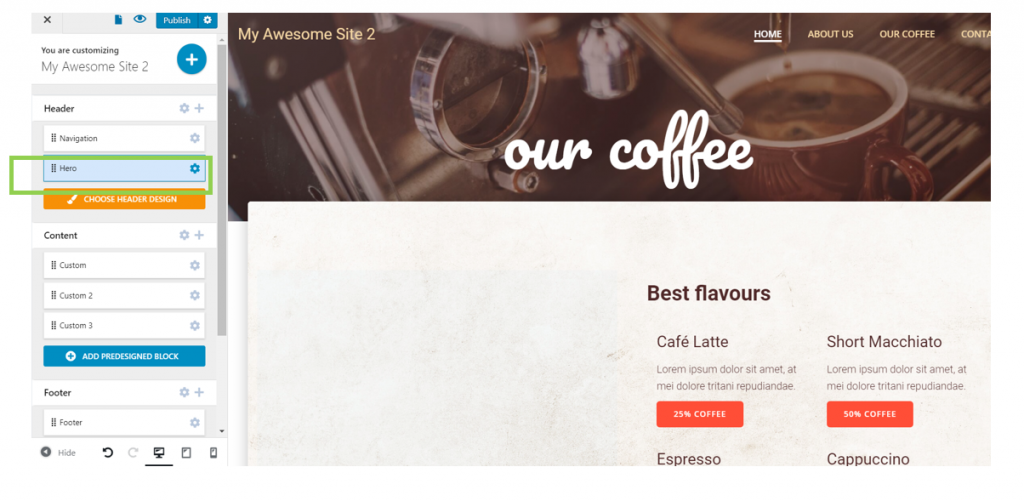
You open the panel with customization settings for the Hero of that page:
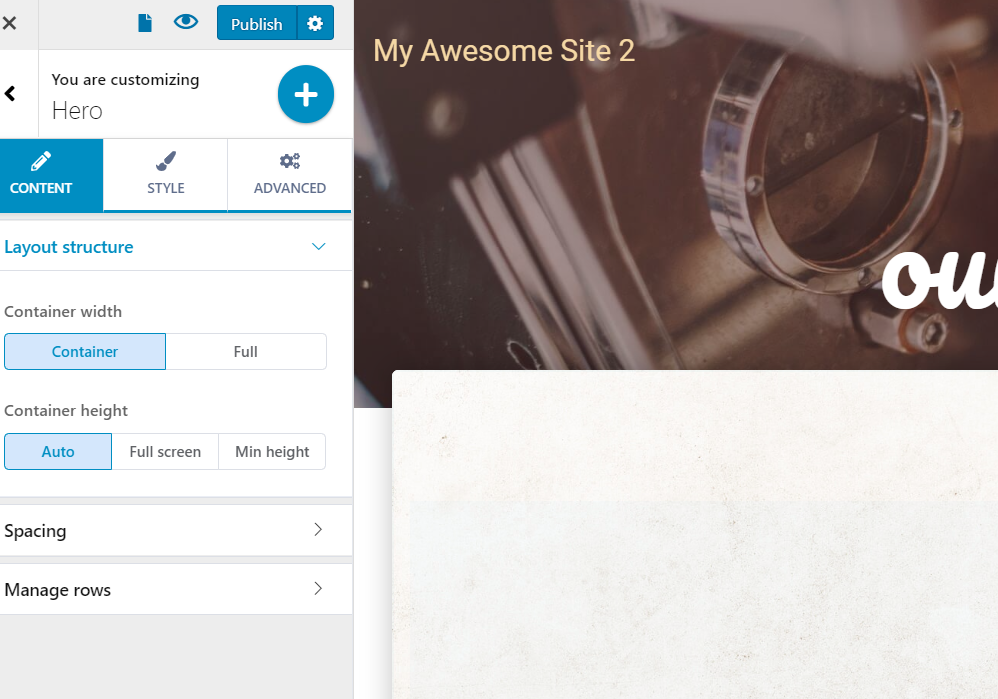
Under the second tab, named “Style”, select Image as background type, then enable the option to Use featured image if available:
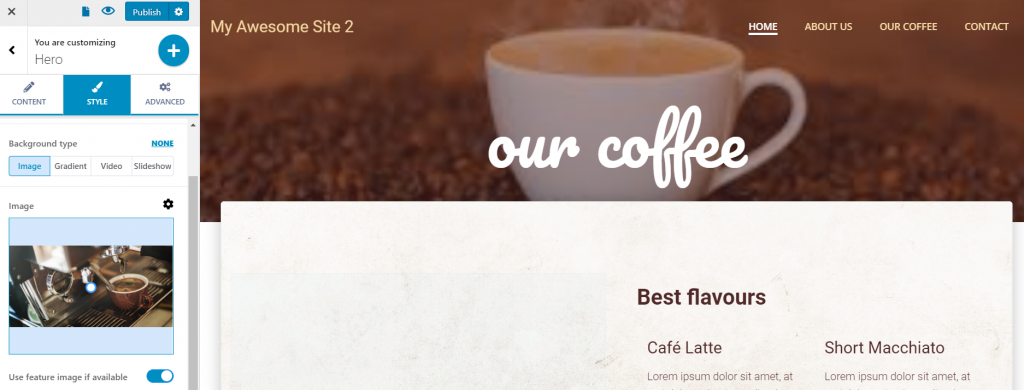
You’ll see that the photo you’ve set as featured image in the WordPress Admin dashboard is now placed as Hero image for that respective page.
The same goes for every page where you’ve set featured images.