Go to the Customizer -> Menus -> The Menu you’ve just created.
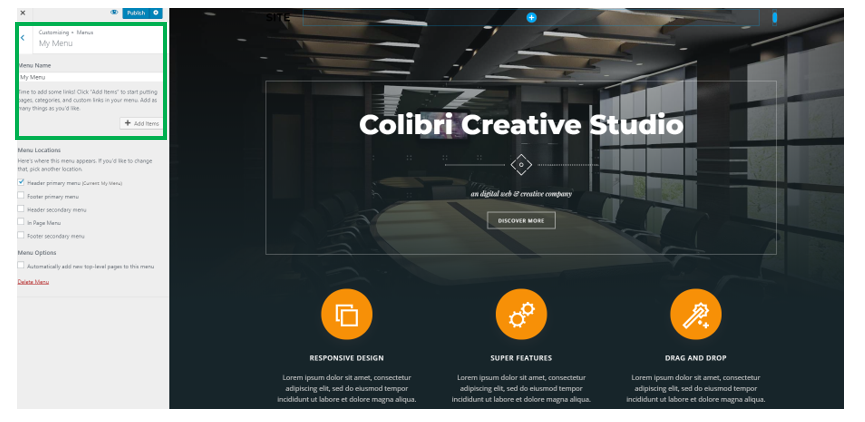
Add first-level items to a menu
To start adding sections to the Menu, click on Add Items under the name of the new menu, as you can see in the screenshot above.
A panel will open, with the list of pages, posts, categories and tags towards which you can add links in the menu.
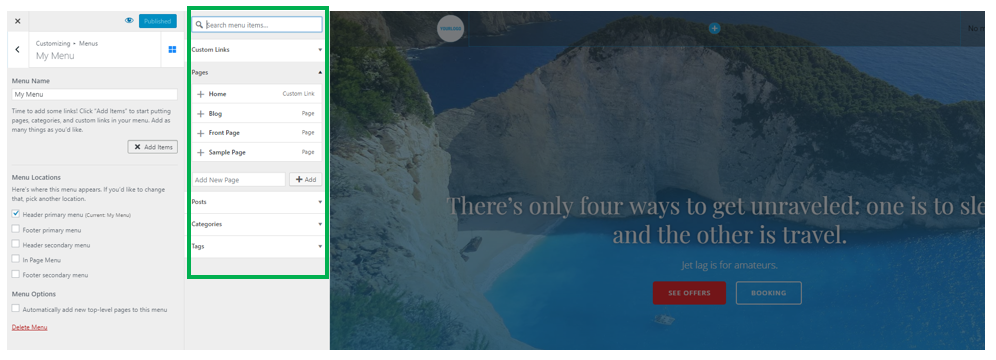
Press the + button for the pages/posts/categories/tags you want to add to the menu.
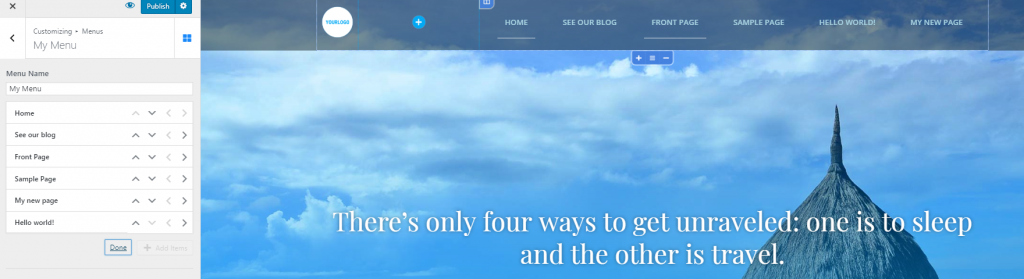
The items you’ve added to the menu will appear in the page like this:
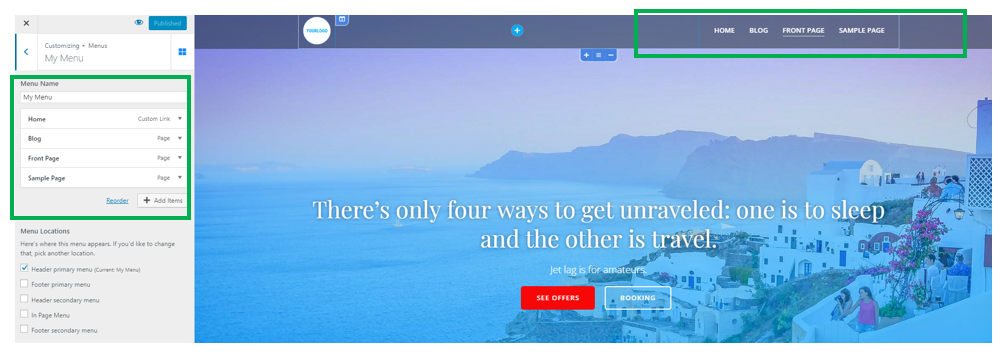
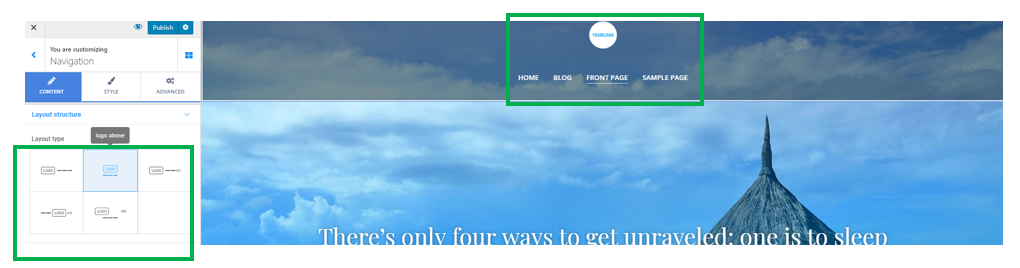
Depending on which navigation section you’ve selected, the menu can have the following placement:
- The Menu is on the right part of the logo
- The Menu is placed under the logo
- The menu is placed between the logo and a Call-to-Action button
- The Menu is placed at the left of the navigation bar, before the logo
- The Menu is placed under the logo and the Call-to-Action button
Create second-level items for the menu
You can also add items for a secondary level in the menu structure. That is, when users hover over an item in the main menu, that category will expand and display additional items (secondary items) you can navigate to.
For this doing, add a new item to the menu, precisely the item you want to place on a secondary menu level.
Then, click on reorder at the bottom of the menu items list:
E.g. To make the “Hello world!” item a secondary menu item under “My new page”, use the right arrow:
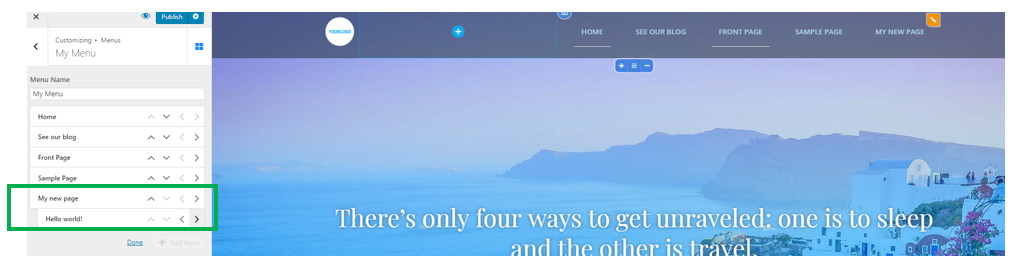
The last item has been added in a secondary menu level, as related to the main item named “My new Page”. When users will hover over “My new page”, a secondary button for the “Hello world!” page will appear.
In case you want a secondary-level item to belong to another item in the menu, you have to use drag-and-drop (or up/down arrows) to place the secondary-level item right below its parent item.